How to set up SPF and DKIM for Sendmarc
Sendmarc is an email sending service used by product and marketing teams to deliver transactional and campaign email at scale. Before Sendmarc can send on behalf of your domain, you need to prove ownership and grant permission by publishing two DNS records: an SPF record and a DKIM record.
This guide walks through the full setup end-to-end using example.com as the sending domain. It should take about ten minutes, plus DNS propagation time.
Prerequisites
- A Sendmarc account with the Domain Admin role.
- Access to the DNS zone for the domain you intend to send from (for example, Cloudflare, Route53, or your registrar's DNS panel).
- A dedicated subdomain is recommended for transactional mail, such as
mail.example.com. This guide uses the root apex domain to keep things simple.
1. Add your sending domain
Sign in to Sendmarc and open Sending Domains from the left sidebar. Click Add domain in the top-right corner, enter your domain (for example example.com), and press Continue.
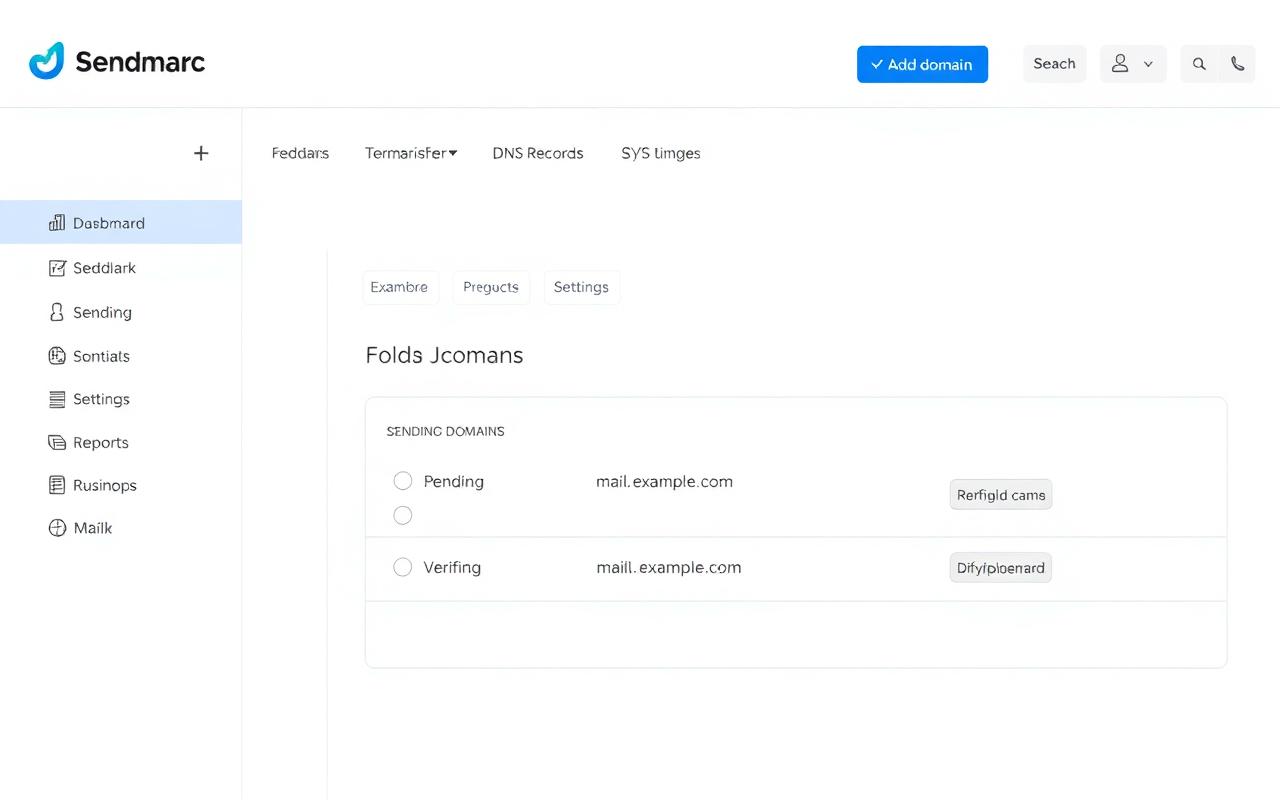
Sendmarc will provision the domain in Pending state and generate the SPF and DKIM records you need to publish next.
2. Configure SPF
SPF (Sender Policy Framework) tells receiving mail servers which hosts are allowed to send email on behalf of your domain. Add the following TXT record at the root of your DNS zone:
- Type
- TXT
- Host
- @
- Value
- v=spf1 include:_spf.sendmarc.com ~all
- TTL
- 3600
If you already publish an SPF record for another provider, do not add a second record. A domain may only have one SPF record. Instead, merge the Sendmarc include into your existing record:
v=spf1 include:_spf.google.com include:_spf.sendmarc.com ~all3. Configure DKIM
DKIM (DomainKeys Identified Mail) lets receivers verify that a message was signed by an authorized sender and has not been tampered with in transit. Sendmarc generates a 2048-bit key pair for you and publishes the public key under the selector smc1. Add the following TXT record:
- Type
- TXT
- Host
- smc1._domainkey
- Value
- v=DKIM1; k=rsa; p=MIGfMA0GCSqGSIb3DQEBAQUAA4GNADCBiQKBgQDQ7ZH1yQ4rq3n8u2eN0zxV3kqfW 2ATz9Xh0Iu1Wg5yq+cS3rN9mL0K7pQvB2Yj8Xh0Iu1Wg5yq+cS3rN9mL0K7pQvB 2Yj8Xh0Iu1Wg5yq+cS3rN9mL0K7pQvB2YjIDAQAB
- TTL
- 3600
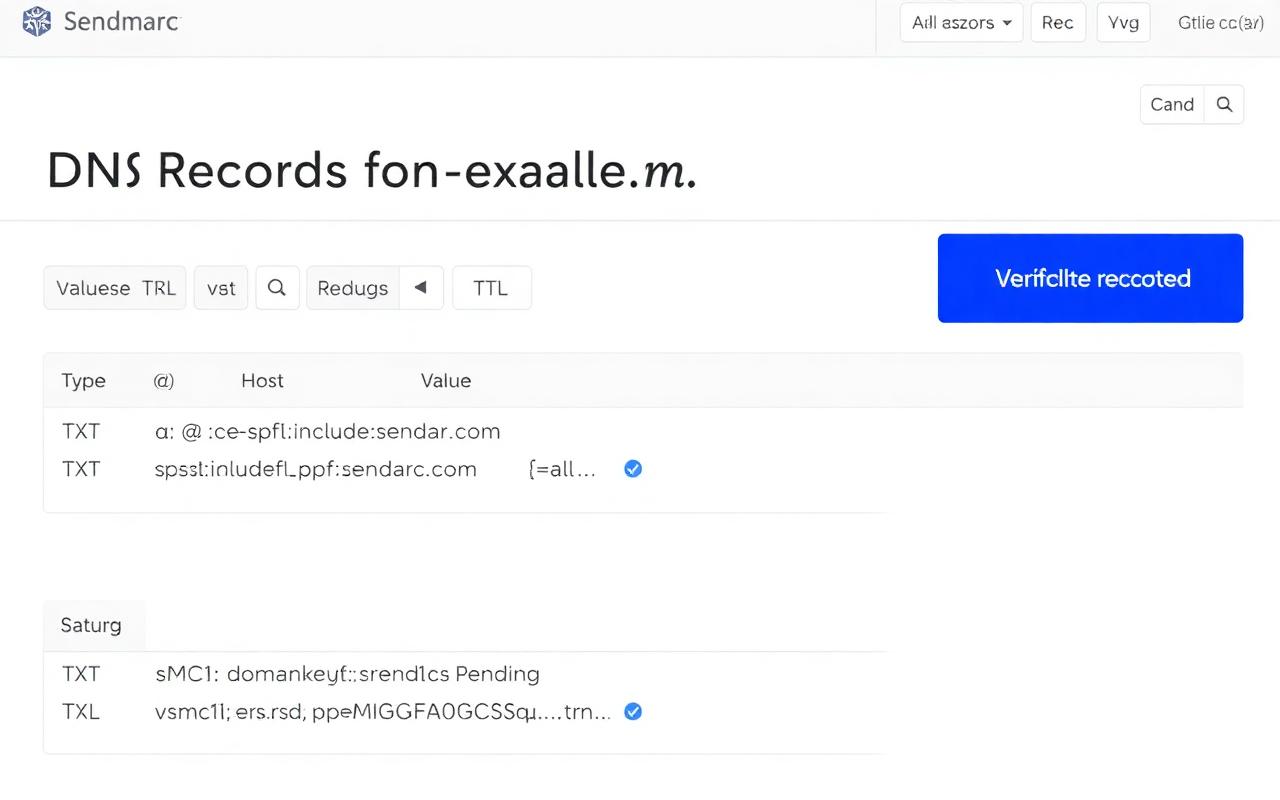
Some DNS providers strip the value at 255 characters. If yours does, split the DKIM value into two quoted strings on the same record — most DNS UIs will handle this transparently, but check your provider's docs.
4. Verify in Sendmarc
Once both records are saved at your DNS provider, return to the DNS Records panel in Sendmarc and click Verify records. Sendmarc queries the authoritative name servers directly, so results are usually available within thirty seconds, though a full DNS propagation can take up to twenty-four hours.
You can also verify from the command line:
$ dig +short TXT example.com
"v=spf1 include:_spf.sendmarc.com ~all"

$ dig +short TXT smc1._domainkey.example.com
"v=DKIM1; k=rsa; p=MIGfMA0GCSqGSIb3DQEBAQUAA4GNADCBiQ..."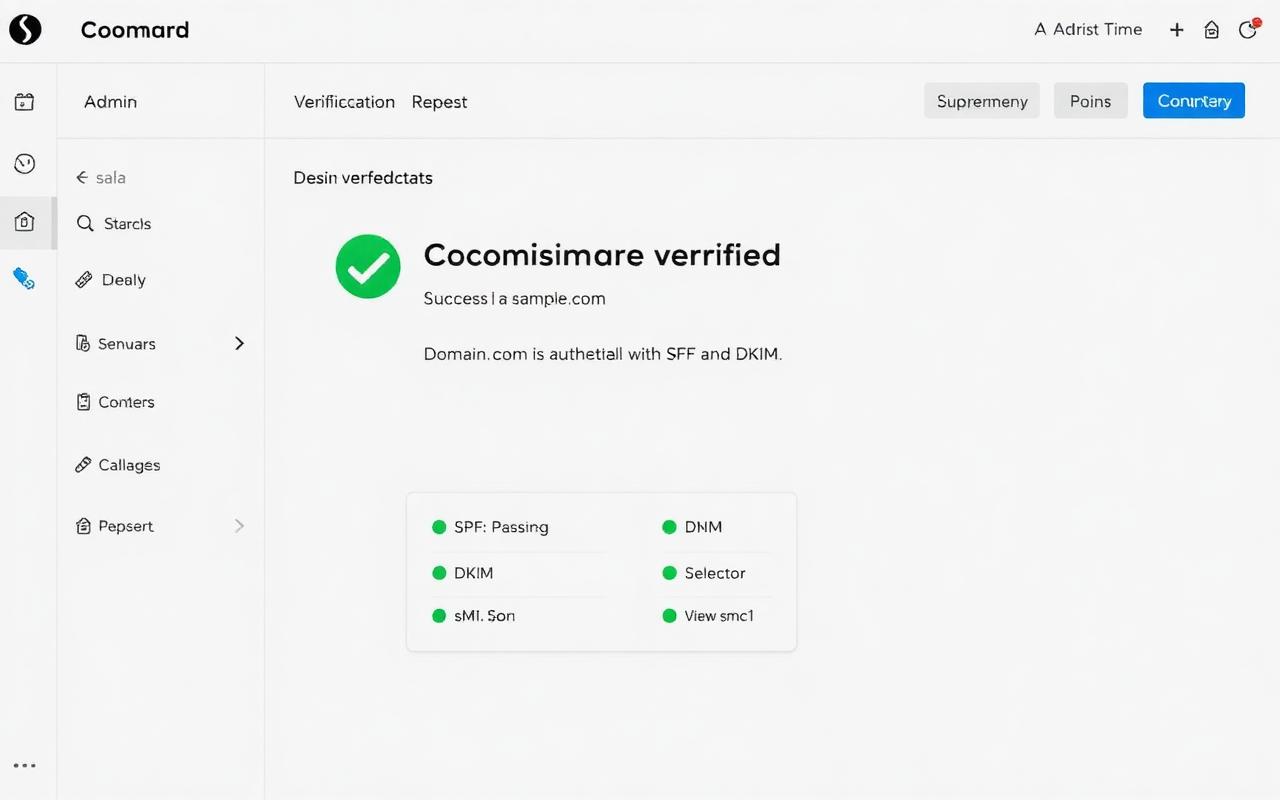
Troubleshooting
“SPF record not found” after publishing
Confirm the record was added to the correct zone and that the host field is @ (the apex), not the fully-qualified domain. Some DNS UIs interpret example.com literally and produce example.com.example.com.
Multiple SPF records detected
A domain may only publish one SPF record. Merge every provider's include into a single v=spf1 record.
DKIM value truncated
If verification fails and the retrieved value ends mid-key, your DNS provider trimmed the string. Split the value into two quoted strings or use a provider that supports long TXT records natively.
Verification hangs on Pending
Wait for the TTL of any previous record to expire, then retry. If you recently lowered the TTL, allow the old cached value to age out before verifying again.
Next steps
Once SPF and DKIM are passing, publish a DMARC record at _dmarc.example.com with a p=none policy and aggregate reports pointing to Sendmarc. This lets you monitor authentication results across every receiver before tightening the policy to quarantine or reject.